
Key Takeaways
Start your ride with the right gear and bike setup for a safer downhill mountain biking experience.
The mountain biking attack position involves rising out of the saddle, shifting your weight back, and tightening your core to maintain balance on descents.
To brake safely while descending hills on a mountain bike, use both brakes evenly and avoid grabbing them too hard.
Choosing the right line for your skill level can improve confidence and control on downhill trails.
Many beginner riders tense up, use the wrong gear, or rely too heavily on the rear brake when descending.
Going downhill on a mountain bike can be intimidating, especially for beginners. Steepness, braking control, and maintaining body positioning can seem overwhelming at first. Fortunately, learning how to descend hills on a mountain bike becomes much easier when you understand the correct downhill body position, proper braking techniques, and trail awareness skills.
In this guide, we’ll cover beginner-friendly downhill mountain biking tips so you’re prepared for a successful descent.
Before You Hit the Hill — Pre-Ride Setup
Being adequately prepared before descending on a mountain bike starts before you even hit the trails. Having the proper safety gear and bike setup can make downhill riding feel much more controlled and predictable, especially for beginners learning basic MTB descending techniques.
Before hitting the trails, make sure your helmet fits properly, and your brakes are responsive. If your bike has a dropper post, lower it to make it easier to get into your downhill riding position. A dropper post allows you to quickly adjust your saddle height with a handlebar-mounted lever, giving you more control and helping you maintain the proper mountain bike downhill body position.
At a minimum, wear a properly fitted helmet, padded gloves, and flat-soled shoes with good grip. Knee and elbow pads are also worth wearing for additional safety.
Starting your ride with the proper setup allows you to focus on braking, line choice, and maintaining control.
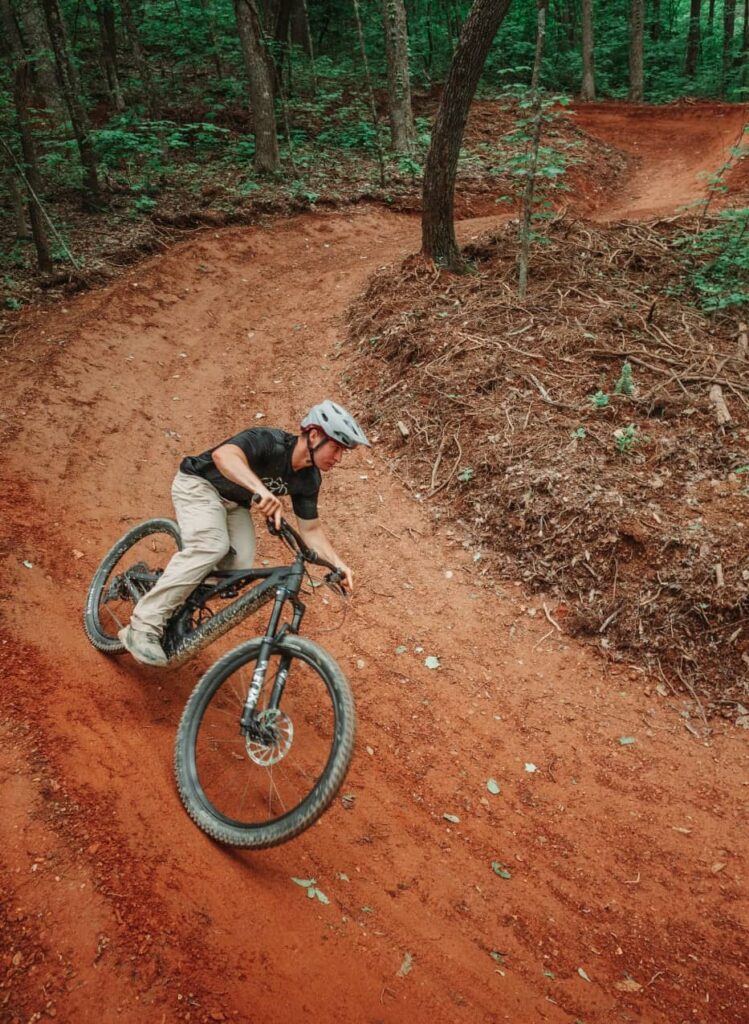
Quick Pre-Ride Checklist for Descending Hills on a Mountain Bike
Put on your helmet and secure it tightly
Make sure you're well hydrated
Select appropriate gear and attire
Check your tire pressure
Lower your dropper post
Test your front and rear brake response
What is the “Attack Position” in Mountain Biking?
The “attack position”, sometimes called the “ready position,” is the foundational mountain bike downhill body position used for maintaining balance and control on descents.
When riding downhill, the attack position helps riders stay stable by shifting weight and allowing the bike to move freely underneath them.
To get into the attack position, you’ll need to leave the saddle, adjust your weight, and engage your core while riding downhill.
Step #1: Raise Yourself out of the Saddle
Slightly lift your body out of the saddle while keeping your knees bent and relaxed.
Step #2: Shift Your Weight Back
Shift your weight so your center of gravity stays centered over the bike’s bottom bracket.
Step #3: Lower Your Chest
Bend your elbows and lower your chest slightly toward the handlebars to improve stability and control.
Step #4: Keep Your Heels Dropped
Drop your heels lower than your toes and push weight into the pedals to increase traction and steady balance on steep terrain.
Step #5: Engage Your Core
Activate your abdominal muscles to stabilize your spine and maintain balance as you descend.
Once you’re in the attack position, you’ll be in much better shape to descend hills on a mountain bike safely, smoothly, and with much more confidence.
How to Brake on a Mountain Bike Downhill
Braking too hard or relying too heavily on one brake can cause you to lose traction or even go over the handlebars on steep descents. Here are a few tips to keep yourself in the saddle:
Be Gentle With Your Brakes
Give your brakes a light squeeze rather than grabbing them to maintain control of your mountain bike.
Use Both Front and Rear Brakes
Most of your stopping power comes from the front brake, while the rear brake helps stabilize your bike. Using both brakes together provides the best balance of stopping power and stability.
Brake Before Turning
As you approach corners or other obstacles, reduce your speed in advance rather than as you encounter them to maintain traction.
Feather Your Brakes
Use a pulsing motion instead of holding the brakes continuously to avoid skidding on the terrain.
Regularly Check Your Brakes
Inspect and replace worn brake pads to keep your brakes in good condition and ride safely.
How to Pick Your Line
When descending hills on a mountain bike, try to look ahead at the whole trail instead of what’s directly in front of you. Scanning early gives you time to prepare for the obstacles and turns you might encounter.
Beginners should start on trails that match their skill level to learn the basics of riding without the technical stress. By choosing an appropriate line, you can build confidence and safely practice downhill mountain biking techniques over time.
If you’re just starting out, stick to green-rated trails until descending starts to feel controlled and predictable. Once you feel confident on green trails, work your way up to blue.
Common Beginner Mistakes
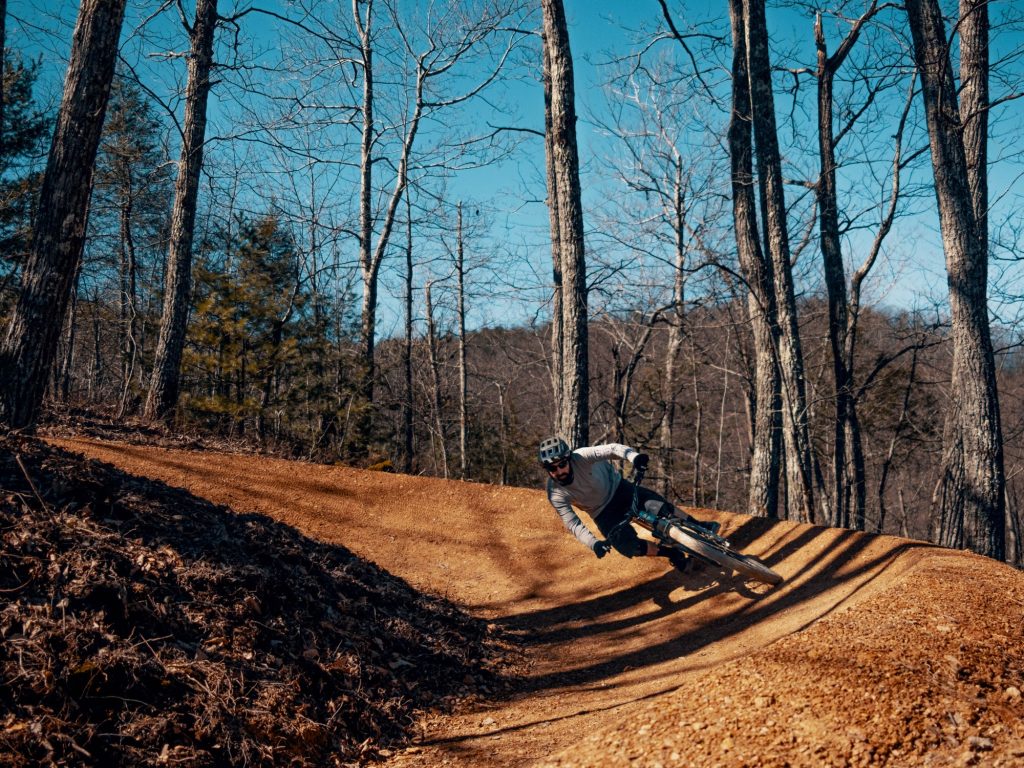
With so much to keep in mind when descending hills on a mountain bike, it can be easy for beginners to make mistakes that reduce control. With practice and awareness, most beginner mistakes can be corrected and prevented. We’ve compiled a list of some of the most common mistakes to be mindful of during your ride.
Selecting the Wrong Gear
Starting your downhill ride in the wrong gear can make controlling your bike much more difficult. Shifting into a higher (harder) gear is recommended for uphill riding, while shifting into a lower (easier) gear is better for downhill riding.
Using Too Much Rear Brake
Many beginner riders rely too heavily on their rear brake when riding downhill. A better technique is to apply both the front and rear brakes consistently for better traction and control.
Tensing Up in the Attack Position
Even in the attack position, it’s important to keep your body relaxed. Locking your arms and legs or shifting too far behind the saddle can make steering more difficult and reduce your ability to react to obstacles on the trail.
Looking Down Instead of Ahead
A common beginner MTB descending mistake is focusing too much on the bike or the trail right in front of you. Keep your eyes forward and scan the trail as you ride to give yourself time to react to rocks, roots, turns, and other obstacles.
Frequently Asked Questions
Should I Use My Front or Rear Brake Going Downhill?
Use both. Your front brake provides most of your stopping power, and your rear brake helps stabilize the bike.
Relying on just one (especially the rear!) can cause skidding or loss of control.
How Do I Stop Myself From Going Over the Handlebars on a Descent?
Shift your weight back, keep your chest low, and squeeze your brakes gradually rather than grabbing them.
Going over the handlebars usually happens when riders brake too hard on the front brake while their weight is too far forward.
Is It Safe for a Complete Beginner to Ride Downhill Trails?
Yes, with the right preparation. Start on green-rated trails that match your current skill level, dial in your attack position on flatter terrain first, and make sure your bike is properly set up before you ride. Building skills gradually is the safest and fastest path to confident descending.
Do I Need a Dropper Post as a Beginner?
A dropper post isn’t required, but it makes descending significantly easier.
It lets you lower your saddle quickly with a handlebar lever, giving your hips more room to shift back into the attack position, which is especially useful on steep terrain where a high seat gets in the way.
Build Your Mountain Biking Confidence in Pigeon Forge at WildSide
At WildSide, we know that learning how to descend hills on a mountain bike takes practice. With 11+ miles of trails that range from beginner to expert-only in difficulty, you can easily find a trail that matches your skill level and lets you practice descending until you have it down. We also offer a bike fundamentals class and a guided ride + skills session that you can attend to practice your descents and other skills!
Learn more about our mountain biking trails and rentals today. If you want more guided instruction, please call for one of our mountain biking classes!